
Getting your bathroom ceiling light right can feel like a small thing, but it makes a huge difference in how the space functions and feels. Many people, however, trip up on a few common mistakes that lead to lighting that’s either too dim, too harsh, unsafe, or just plain wrong for the room. This article will walk you through those common pitfalls so you can confidently pick the perfect lights for your bathroom.
Overlooking IP Ratings: Safety First, Always
The biggest and most critical mistake when buying bathroom ceiling lights is ignoring the Ingress Protection (IP) rating. This isn’t just a technical specification; it’s a safety measure, indicating how well an electrical enclosure protects against solids (like dust) and liquids (like water). In a damp, humid environment like a bathroom, this is non-negotiable.
Understanding IP Ratings for Bathroom Zones
The bathroom is divided into different zones, each requiring a specific minimum IP rating for electrical fixtures. Failing to match the light fixture’s IP rating to its zone is not only a fire hazard but also puts you at risk of electric shock.
- Zone 0: This is inside the bath or shower tray itself. Any fitting used here must be low voltage (max 12V) and have a minimum IPX7 rating (protected against immersion in water). You’re unlikely to put a ceiling light here, but it’s good to know for completeness.
- Zone 1: This area is directly above the bath or shower, up to a height of 2.25 meters from the floor. Fixtures here need at least an IPX4 rating (protected against splashing water). Many ceiling lights fall into this zone.
- Zone 2: This area extends 0.6 meters outside the perimeter of the bath or shower and up to 2.25 meters from the floor. It also includes the area around the wash basin. Lights in Zone 2 require a minimum IPX4 rating.
- Outside Zones (Zone 3/Unzoned Area): This is anywhere outside Zone 0, 1, and 2, where no water jet is likely to be used. While not strictly required, an IP20 rating (basic protection against solid objects larger than 12.5mm) is generally the minimum for any indoor fixture. However, given the general humidity of a bathroom, many people opt for IP44 or higher even in these areas for peace of mind and longevity.
The Consequences of Low IP Ratings
Using a non-IP-rated or insufficiently rated light in a wet zone is incredibly risky. Water ingress can cause short circuits, damage the fixture, trip your circuit breaker, or, worst of all, lead to electrocution. It’s not just about direct splashing; steam and condensation can also penetrate unprotected fixtures over time. Always double-check the IP rating before buying and ensure it matches the zone where you intend to install the light. When in doubt, err on the side of caution and choose a higher IP rating.
Ignoring Light Output and Color Temperature
It’s easy to focus solely on the look of a light fixture and forget its primary job: producing light. Many people end up with a bathroom that’s either too dim to perform tasks like shaving or applying makeup, or too harsh and clinical.
Understanding Lumens, Not Watts
For decades, we’ve been conditioned to think in Watts when buying light bulbs, assuming higher watts meant brighter light. With LED technology, this isn’t the case. Watts now indicate energy consumption, not brightness. To gauge brightness, you need to look at lumens (lm).
- How many lumens for a bathroom? This largely depends on the size of your bathroom and how much ambient light it receives. As a general guide:
- Small bathrooms (under 50 sq ft): Aim for 2500-4000 lumens total.
- Medium bathrooms (50-100 sq ft): Aim for 4000-6000 lumens total.
- Large bathrooms (over 100 sq ft): You might need 6000-8000+ lumens.
- Remember, these are total lumens. If you have multiple fixtures (e.g., ceiling light plus vanity lights), add up their individual lumen outputs. It’s often better to have a slightly brighter main ceiling light and then use dimmer vanity lights or an option to dim the main light.
Choosing the Right Color Temperature (Kelvin)
Color temperature, measured in Kelvin (K), dictates the “feel” of the light. This is crucial in a bathroom where you perform both practical tasks and seek relaxation.
- Warm White (2700K-3000K): This light has a yellowish tint, similar to traditional incandescent bulbs. It creates a cozy, relaxing atmosphere, which can be lovely for a guest bathroom or if you primarily use your bathroom for unwinding. However, it can make skin tones appear warmer and colors less true, making task lighting (like makeup application) more challenging.
- Cool White / Natural White (3500K-4500K): This is a more neutral white light, often described as bright and crisp. It’s a popular choice for bathrooms because it provides good visibility for tasks without being overly harsh. It’s a good compromise between warmth and functionality.
- Daylight (5000K-6500K): This light mimics natural daylight and has a bluish tint. It’s excellent for task lighting as it renders colors most accurately, which is ideal for makeup, shaving, and grooming. However, it can feel very stark, clinical, and even unflattering in the evenings, potentially disrupting your circadian rhythm if used exclusively.
The Importance of Layered Lighting
The best approach for bathroom lighting isn’t to rely on a single, overpowering ceiling light. Instead, think about layered lighting.
- Ambient Lighting (Ceiling Light): This provides the general illumination for the room. Choose a good lumen output and a neutral color temperature (around 3500K-4000K) or consider a dimmable option.
- Task Lighting (Vanity Lights): These are crucial for the mirror area. They should illuminate your face evenly from both sides or above, without casting shadows. A color temperature around 4000K-5000K is often best here for accurate color rendering.
- Accent Lighting (Optional): This can highlight architectural features, art, or add mood lighting. Think small recessed lights, strip lighting under shelves, or even a decorative wall sconce. These can be warmer (2700K-3000K) and dimmable.
By combining these layers, you can create a versatile bathroom lighting scheme that meets all your needs throughout the day.
Choosing the Wrong Fixture Type or Placement
Picking a beautiful light fixture that doesn’t quite fit the function or layout of your bathroom is another common oversight. It’s not just about aesthetics; it’s about practical illumination and visual balance.
Recessed vs. Surface Mount vs. Semi-Flush
Each type of ceiling light has its pros and cons for a bathroom setting.
- Recessed Lighting (Downlights): These are sleek, unobtrusive, and create a clean, modern look. They are excellent for general ambient lighting and can be strategically placed to highlight areas.
- Pros: Minimalist, don’t collect dust, good for low ceilings, easy to clean.
- Cons: Can create “spotlight” shadows if not enough are used, installation requires cutting holes in the ceiling and access to the ceiling cavity. If used as the sole light, they often require a higher quantity to adequately light the whole space.
- Mistake to avoid: Using too few recessed lights or placing them directly over the mirror, which will cast harsh shadows on your face. Instead, place them a little further out from the wall, or ensure you have dedicated vanity lighting.
- Surface Mount Lights (Flush Mount): These fixtures sit directly against the ceiling. They are common in bathrooms, especially those with lower ceilings.
- Pros: Provide good general diffusion of light, relatively easy to install, often more affordable.
- Cons: Can feel a bit dated depending on the style, can cast shadows if the light source isn’t well diffused, can visually lower a ceiling.
- Mistake to avoid: Choosing a very small, dim flush mount for a large bathroom, leaving large areas underlit. Also, ensure the design is suitable for high humidity – metal parts should be corrosion-resistant.
- Semi-Flush Mount Lights: These hang slightly down from the ceiling, offering a bit more decorative flair than flush mounts.
- Pros: More decorative options, can offer better light distribution than some flush mounts, especially if they have an open bottom.
- Cons: Can be problematic in very low ceilings (less than 8 feet), can collect dust more easily, some designs might be harder to clean.
- Mistake to avoid: Installing them where someone might bump their head, or choosing a style that clashes with the bathroom’s aesthetic. Ensure they’re rated for bathroom use.
Improper Placement of the Main Ceiling Light
Often, the default is to place the main ceiling light directly in the center of the bathroom. While this provides general ambient light, it might not be the most effective placement for a bathroom.
- Above the main walkway/center: This works for general illumination but often leaves the vanity area (where you need the most light) in shadow, especially if you’re standing in front of the mirror.
- Consider offsetting: Sometimes, placing the main light slightly off-center, perhaps closer to the vanity area (but not directly over the user’s head), or using multiple smaller lights can be more effective. The goal is to minimize shadows and provide consistent light where it’s needed most.
- Don’t forget the shower: If your main ceiling light isn’t directly above or near the shower, consider a dedicated IP-rated shower light. Nobody likes showering in the dark.
Neglecting Dimmability and Smart Features
In today’s homes, flexibility and control are key. Many people overlook the benefits of dimmable lights and smart features in their bathroom, limiting its functionality and ambiance.
The Power of Dimmability
Imagine: bright, crisp light for your morning routine, then a softer, warmer glow for a relaxing evening bath. This versatility is precisely what dimmable lighting offers.
- Practicality: Dimmable lights allow you to adjust the light output (lumens) to suit the time of day, your activity, or even your mood. You can have full brightness for cleaning or grooming, and then dial it down for a late-night bathroom trip without blinding yourself.
- Energy Savings: Dimming lights uses less energy, extending the lifespan of your LED bulbs and reducing your electricity bill.
- Ambiance: This is perhaps the most significant benefit in a bathroom. A harsh, bright light is rarely conducive to relaxation. Dimmable lights let you create a spa-like atmosphere, perfect for soaking in the tub.
- Mistake to avoid: Buying “dimmable” fixtures or bulbs without ensuring you have a compatible dimmer switch. Not all dimmer switches work with all types of dimmable LEDs. Check compatibility beforehand to avoid flickering, buzzing, or non-functioning dimmers.
Embracing Smart Lighting
Smart lighting takes dimmability a step further, offering even greater control and customization. While not essential, it can significantly enhance your bathroom experience.
- Adjustable Color Temperature: Some smart bulbs and fixtures allow you to change not only the brightness but also the color temperature (e.g., from warm white to daylight) through an app or voice control. This is ideal for bathrooms, allowing you to have daylight for makeup in the morning and warm white for a relaxing evening bath.
- Scheduling and Automation: You can program your lights to turn on or off at specific times, or even to gradually brighten in the morning to gently wake you up.
- Voice Control: Integrate with smart home assistants (Alexa, Google Assistant) for hands-free control, which is particularly useful when your hands are wet or soapy.
- Motion Sensors: While not always desirable for a main light (can be annoying if it turns off while you’re in the shower), a subtle motion sensor on a low-light setting can be useful for late-night trips to the bathroom.
- Mistake to avoid: Overcomplicating things. While smart lighting is great, don’t feel pressured to get every smart feature if you won’t use it. Start with basic dimmability and consider smart features if they genuinely add value to your routine. Also, ensure your Wi-Fi signal is strong enough in the bathroom for reliable smart light operation.
Forgetting Aesthetics and Maintenance
Once you’ve nailed the safety, light output, and functionality, it’s time to consider how the light fixture actually looks in your bathroom and how easy it will be to keep clean. Ignoring these aspects can lead to a beautiful fixture becoming an eyesore or a constant chore.
Matching Style and Finish
The ceiling light is often a central visual element. It should complement the overall style of your bathroom, not clash with it.
- Modern/Contemporary: Look for sleek designs, clean lines, and finishes like brushed chrome, polished nickel, or matte black. Recessed lights are a natural fit here.
- Traditional/Transitional: Consider fixtures with classic shapes, perhaps with glass shades, and finishes like bronze, antique brass, or even some polished chrome.
- Farmhouse/Rustic: Wood accents, oil-rubbed bronze, or industrial-style fixtures can work well.
- Minimalist: Simple, understated designs, often with integrated LEDs and neutral finishes.
- Mistake to avoid: Buying a fixture that stands out for the wrong reasons. A very ornate chandelier in a tiny, modern bathroom will look out of place. Conversely, a plain, utilitarian fixture might feel underwhelming in a luxurious bathroom. Consider other fixtures in the room (faucets, showerheads, cabinet hardware) and try to match the general finish and style for a cohesive look.
Considering Size and Scale
A light fixture that’s too small for a large bathroom will look lost and won’t provide adequate light. One that’s too large for a small bathroom can feel overwhelming and visually shrink the space.
- Rule of thumb: For a ceiling light, a rough guide for diameter (in inches) can be calculated by adding the length and width of the room (in feet). For example, a 5ft x 8ft bathroom (13 feet total) might look good with a 13-inch diameter fixture. This is just a starting point, adjust for ceiling height and desired visual impact.
- Visual balance: Hold up a measuring tape or even a cardboard cutout of the fixture’s size to the ceiling to get a better sense of its scale in the actual room.
- Mistake to avoid: Picking a fixture based solely on its beauty in the showroom without considering how it will look proportioned in your bathroom. Pay attention to how far it hangs down, especially with semi-flush mounts, to ensure it doesn’t obstruct movement or lower the ceiling too much visually.
Ease of Cleaning and Maintenance
Bathrooms are humid, steamy environments prone to dust, condensation marks, and sometimes even mold or mildew on surfaces. Your light fixture will not be immune.
- Glass shades: Opaque or frosted glass can hide dust and water spots better than clear glass. Smooth, simple shapes are easier to wipe down than intricate, multi-faceted designs.
- Open vs. Enclosed: Open fixtures (like some semi-flush designs with exposed bulbs) will collect more dust and potentially insects. Enclosed fixtures (like many flush mounts or recessed lights with sealed covers) require less frequent internal cleaning but may show condensation or water spots on the outer surface.
- Materials: Choose materials that are suitable for high humidity. Stainless steel, corrosion-resistant metals, and high-quality plastics are generally good. Avoid untreated metals or materials that are prone to rusting or tarnishing easily.
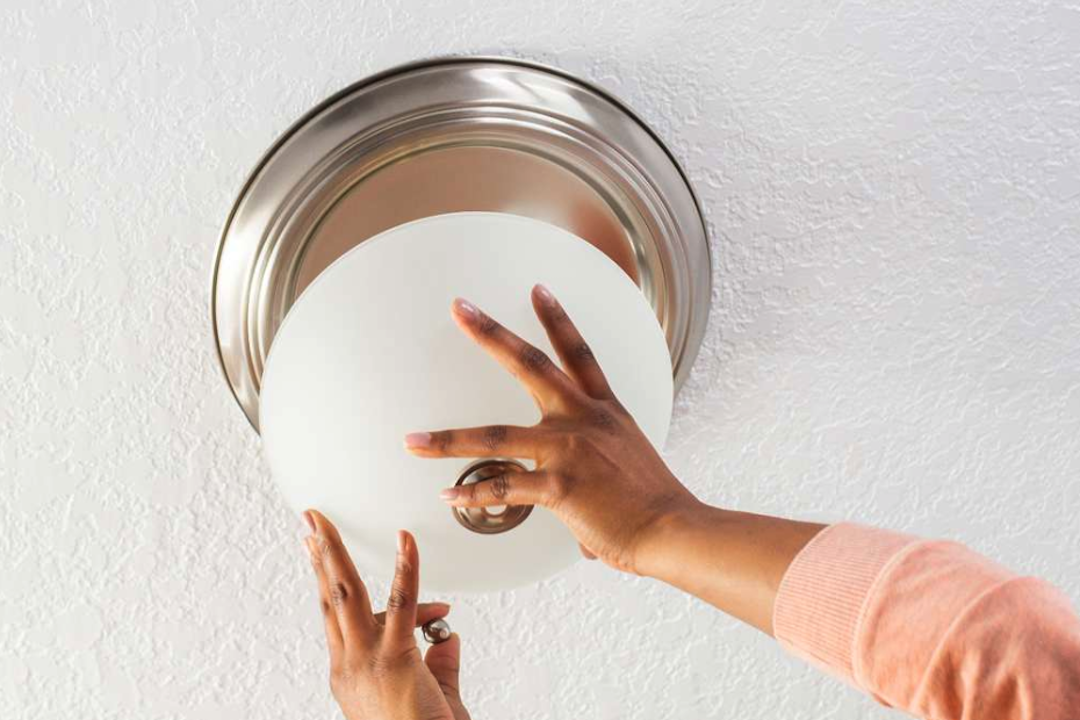
- Bulb replacement: If your fixture uses replaceable bulbs, consider how easy it is to access and change them. Fiddly clasps or heavy glass diffusers can make this a real chore, especially on a high ceiling. Integrated LED fixtures avoid this issue, but if the LEDs fail, the whole fixture may need replacing.
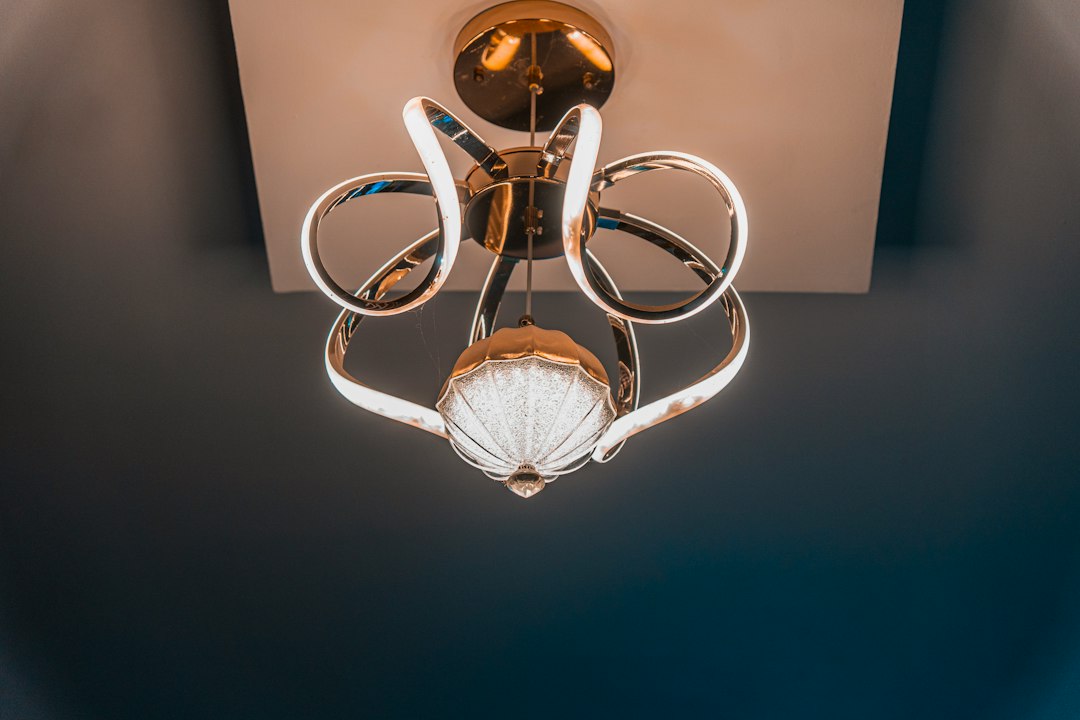
- Mistake to avoid: Choosing a highly decorative, intricate fixture with many nooks and crannies that will quickly become a dust and grime magnet in a bathroom environment. Think about your cleaning habits and how much effort you’re willing to put into maintaining a spotless fixture. A practical design often wins in a bathroom.
By carefully considering these common pitfalls, you’ll be well on your way to choosing bathroom ceiling lights that are safe, functional, beautiful, and a joy to use for years to come.